November 18, 2022
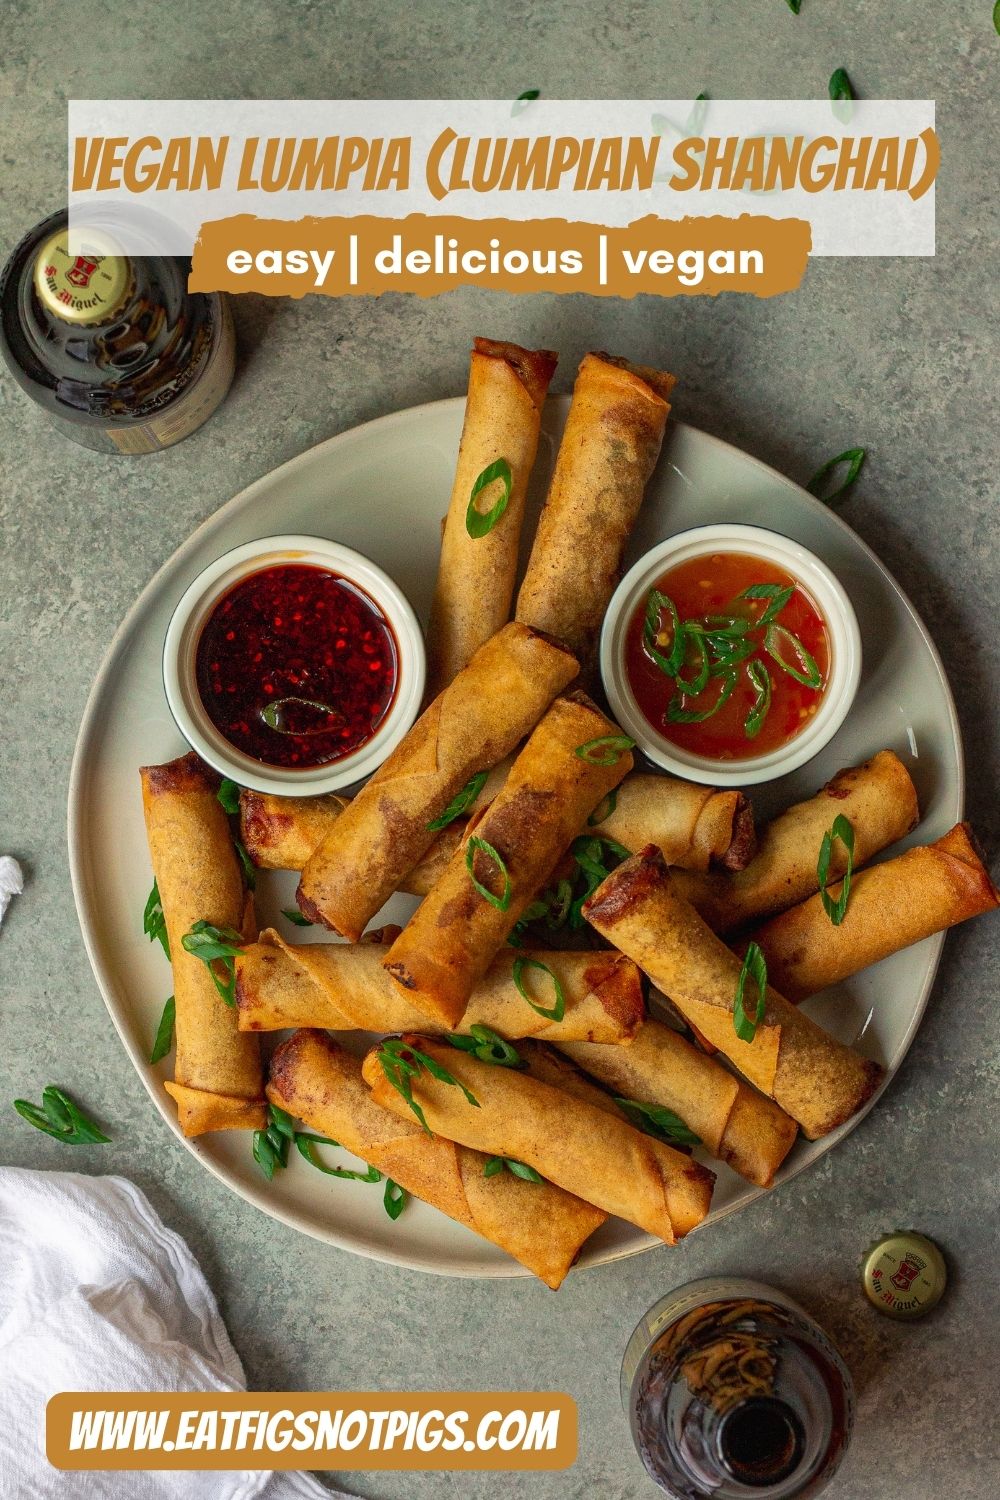
Vegan Lumpia (Lumpiang Shanghai)
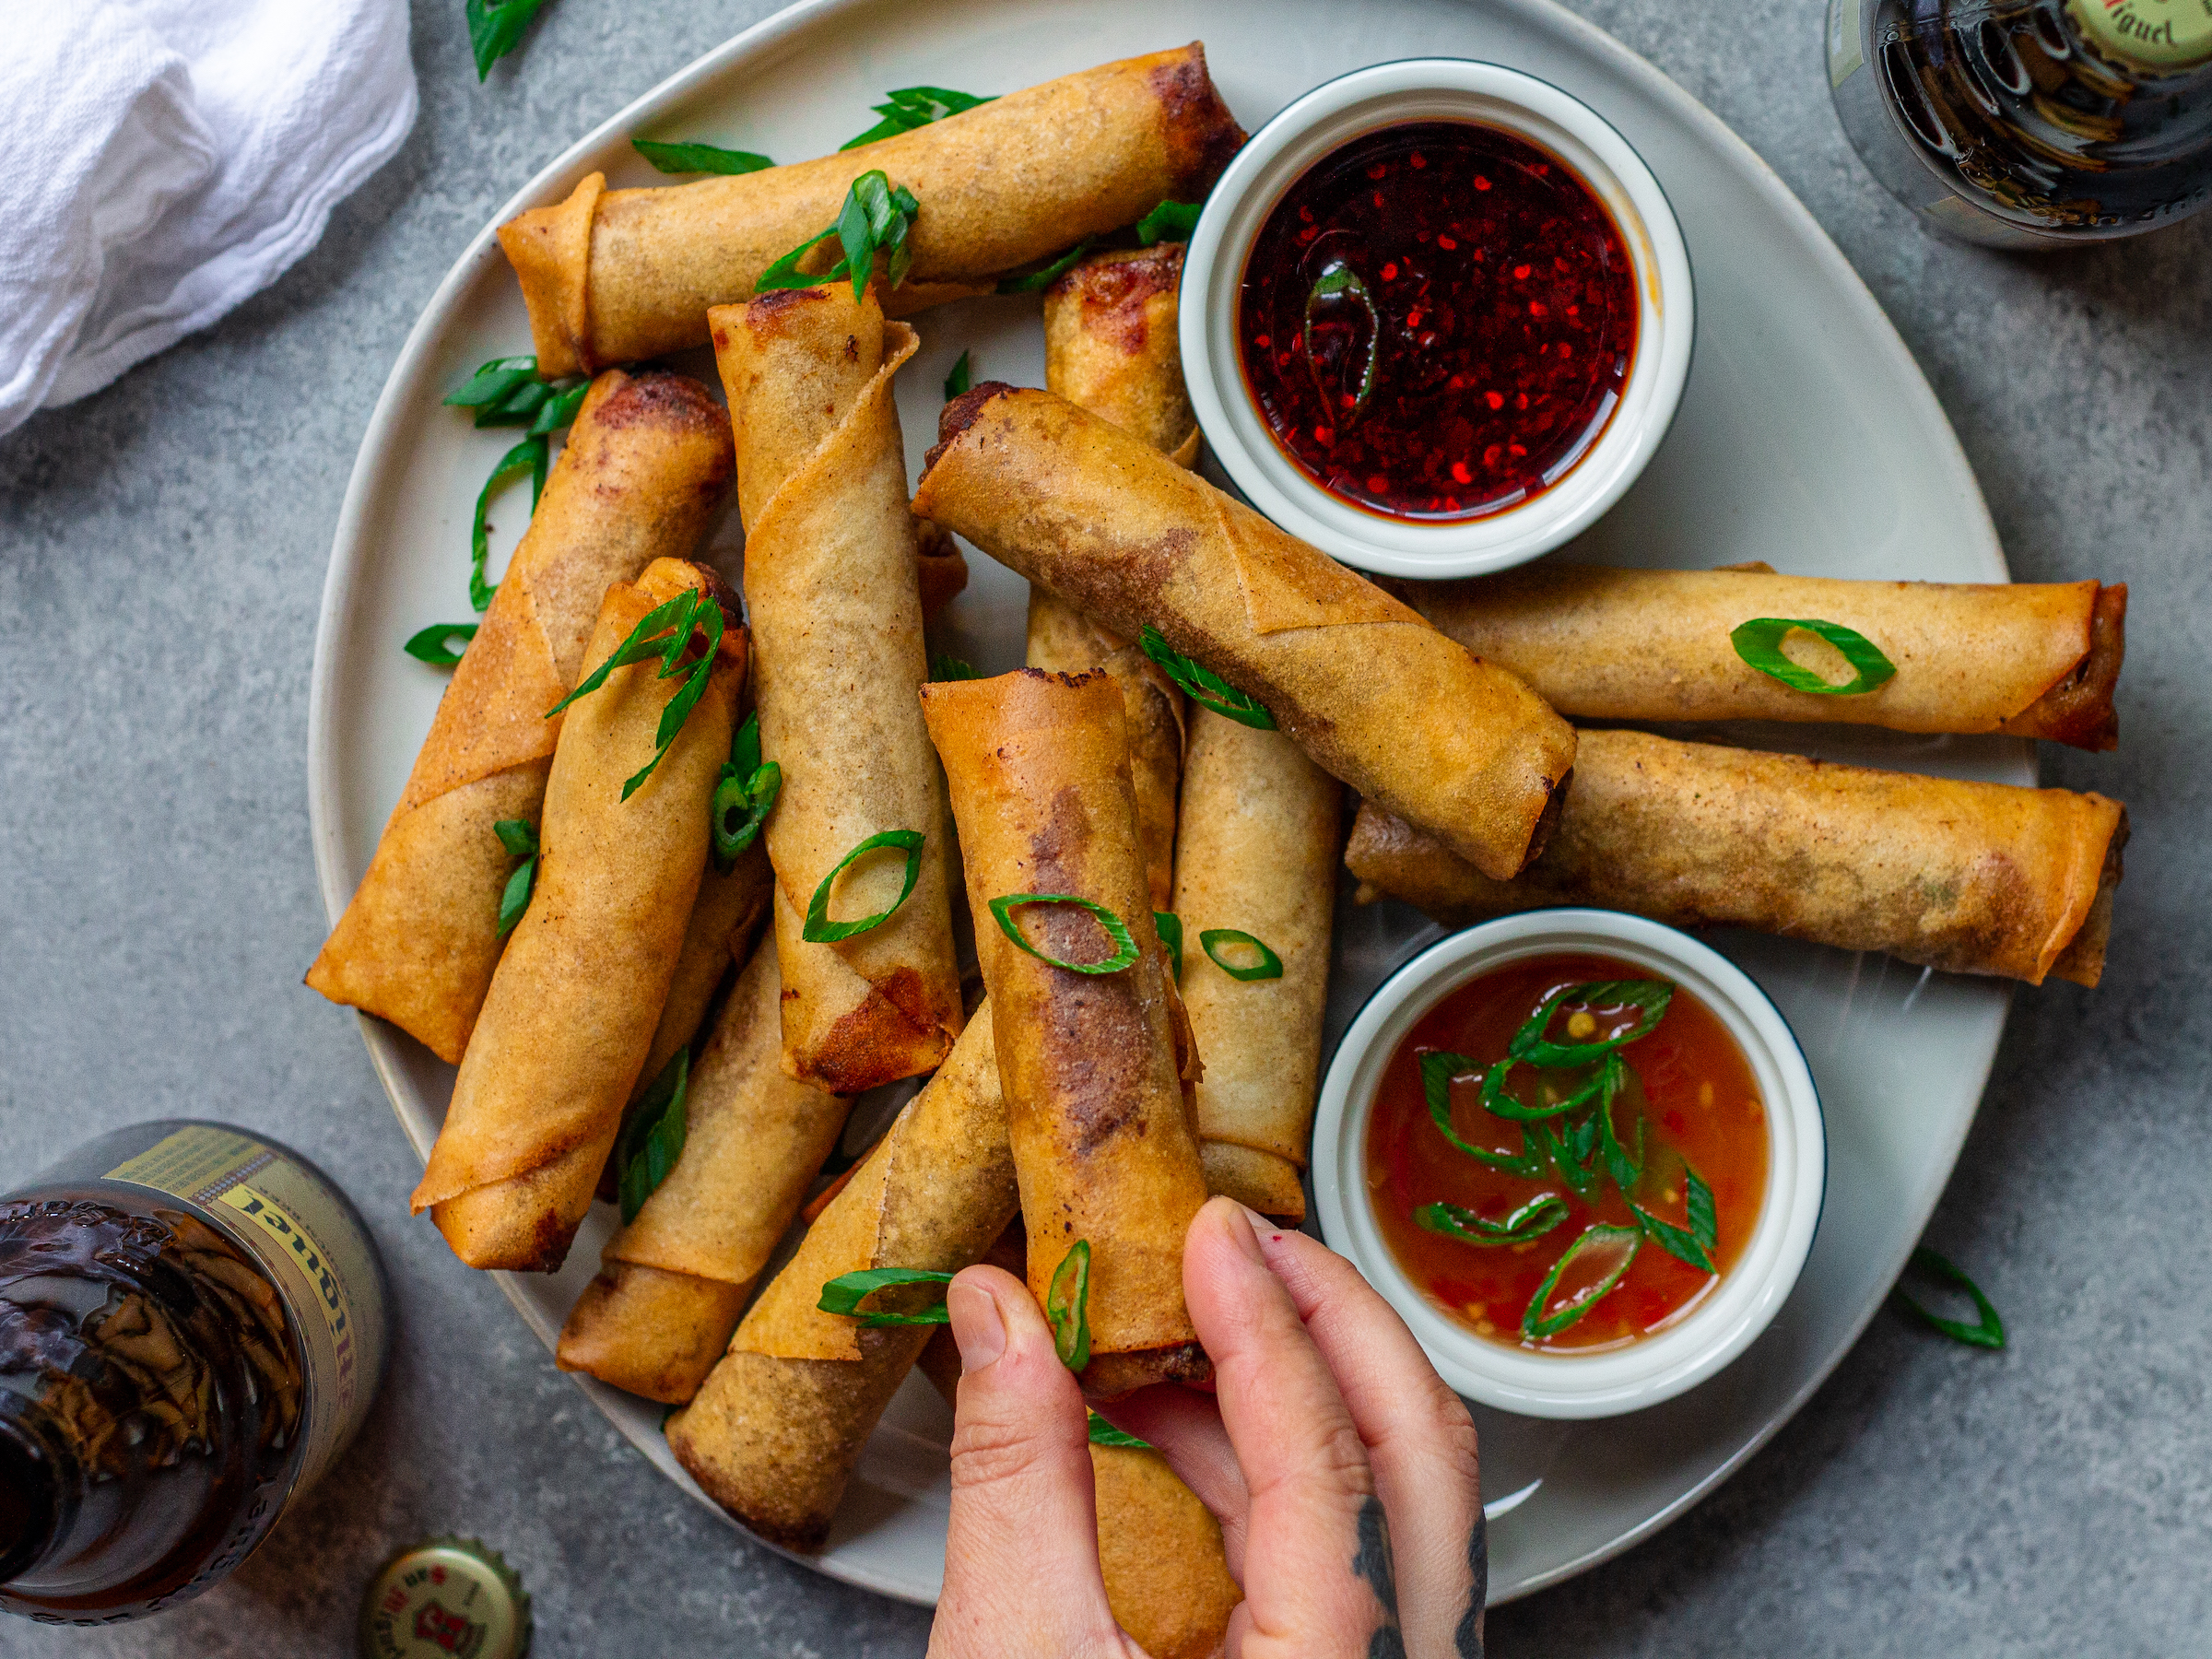
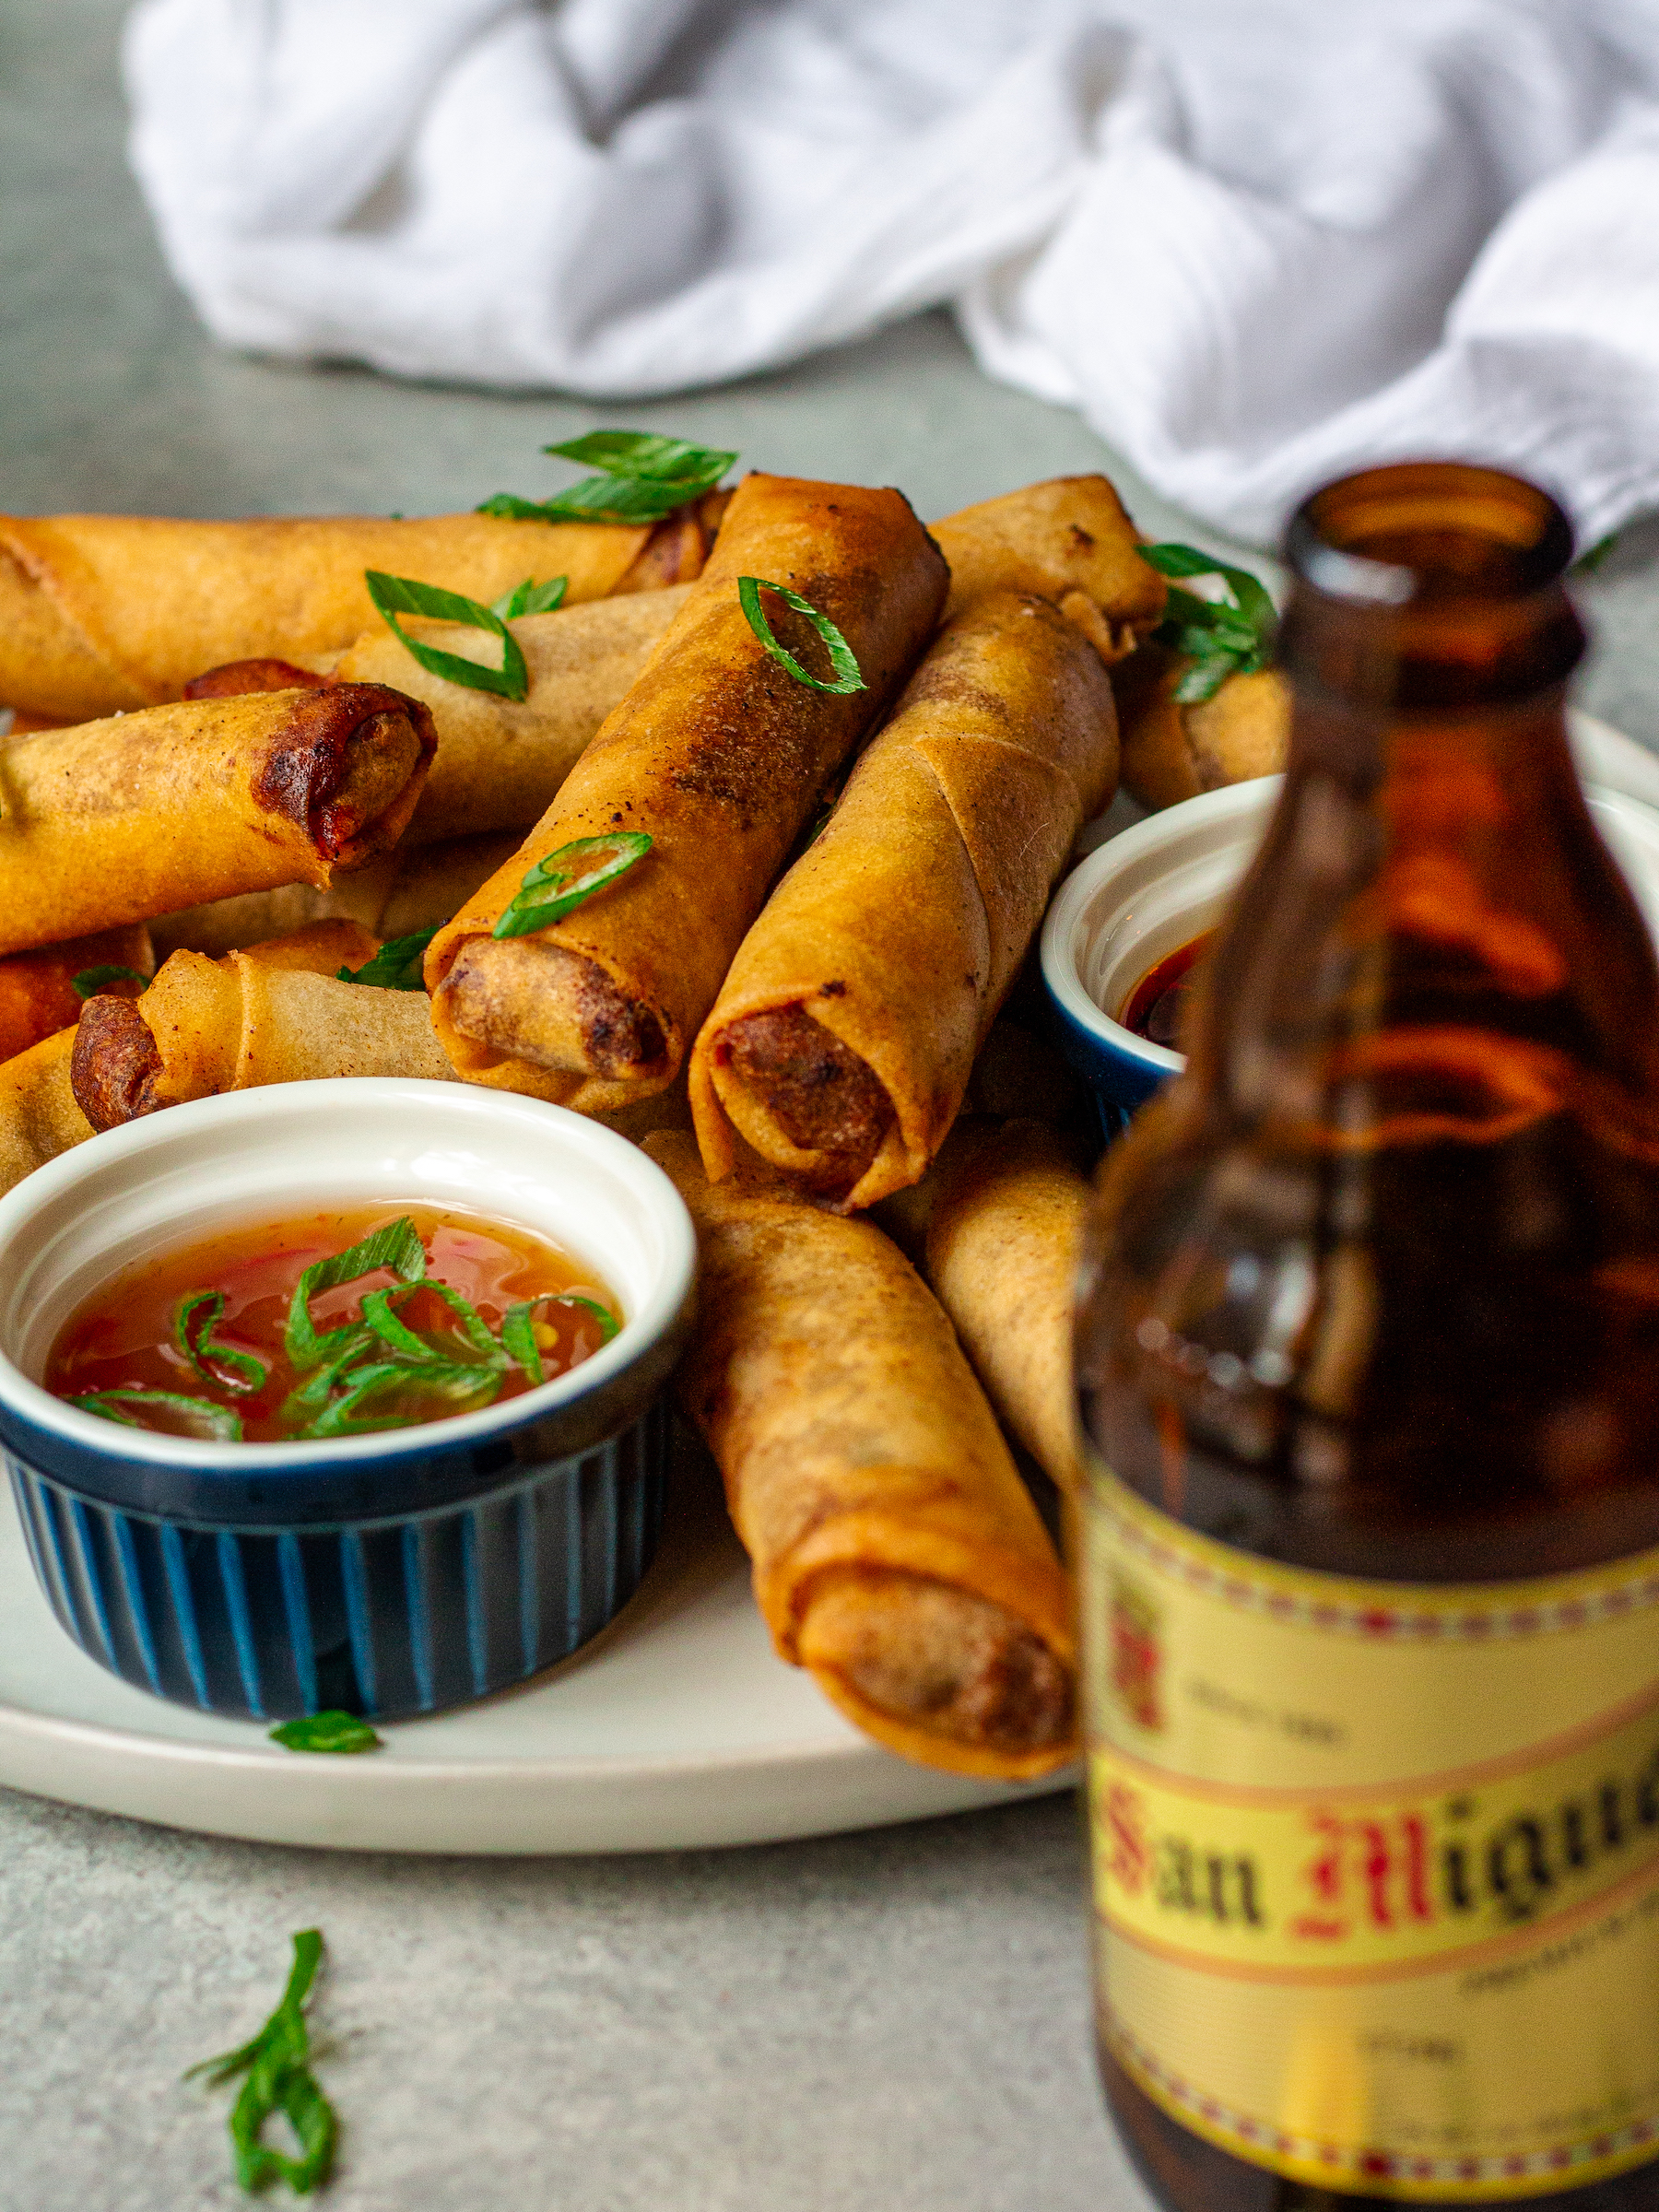
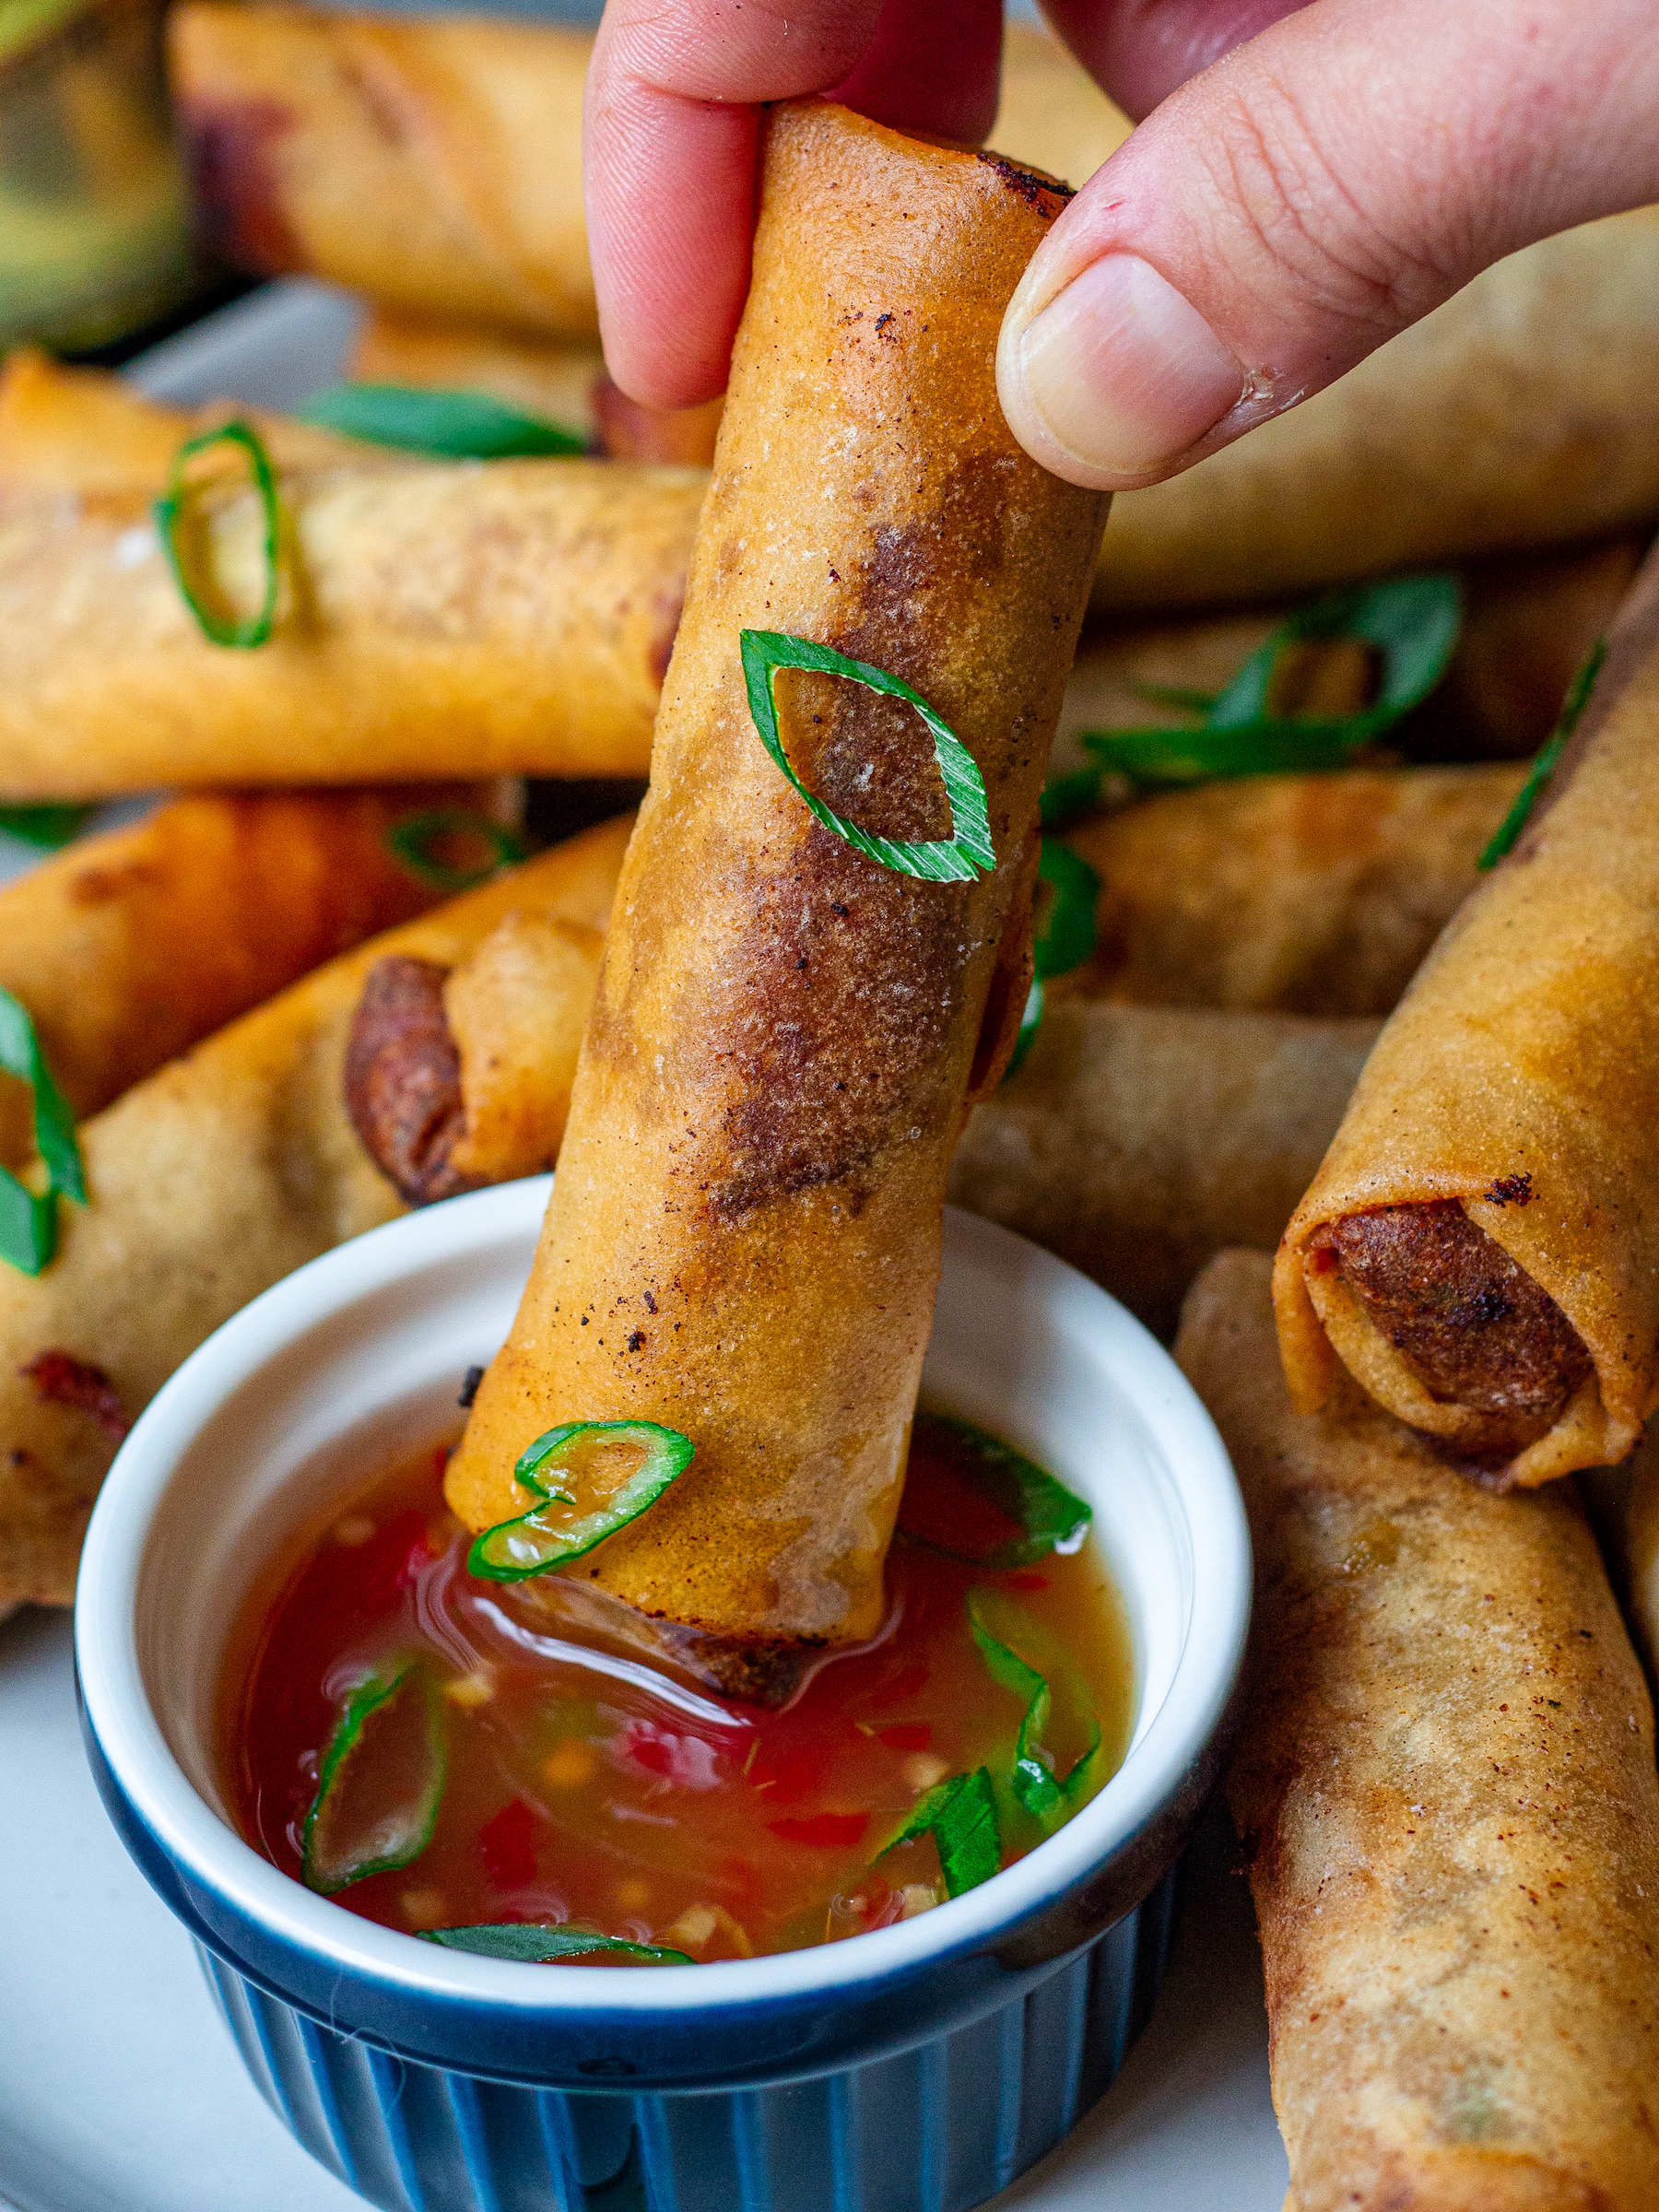
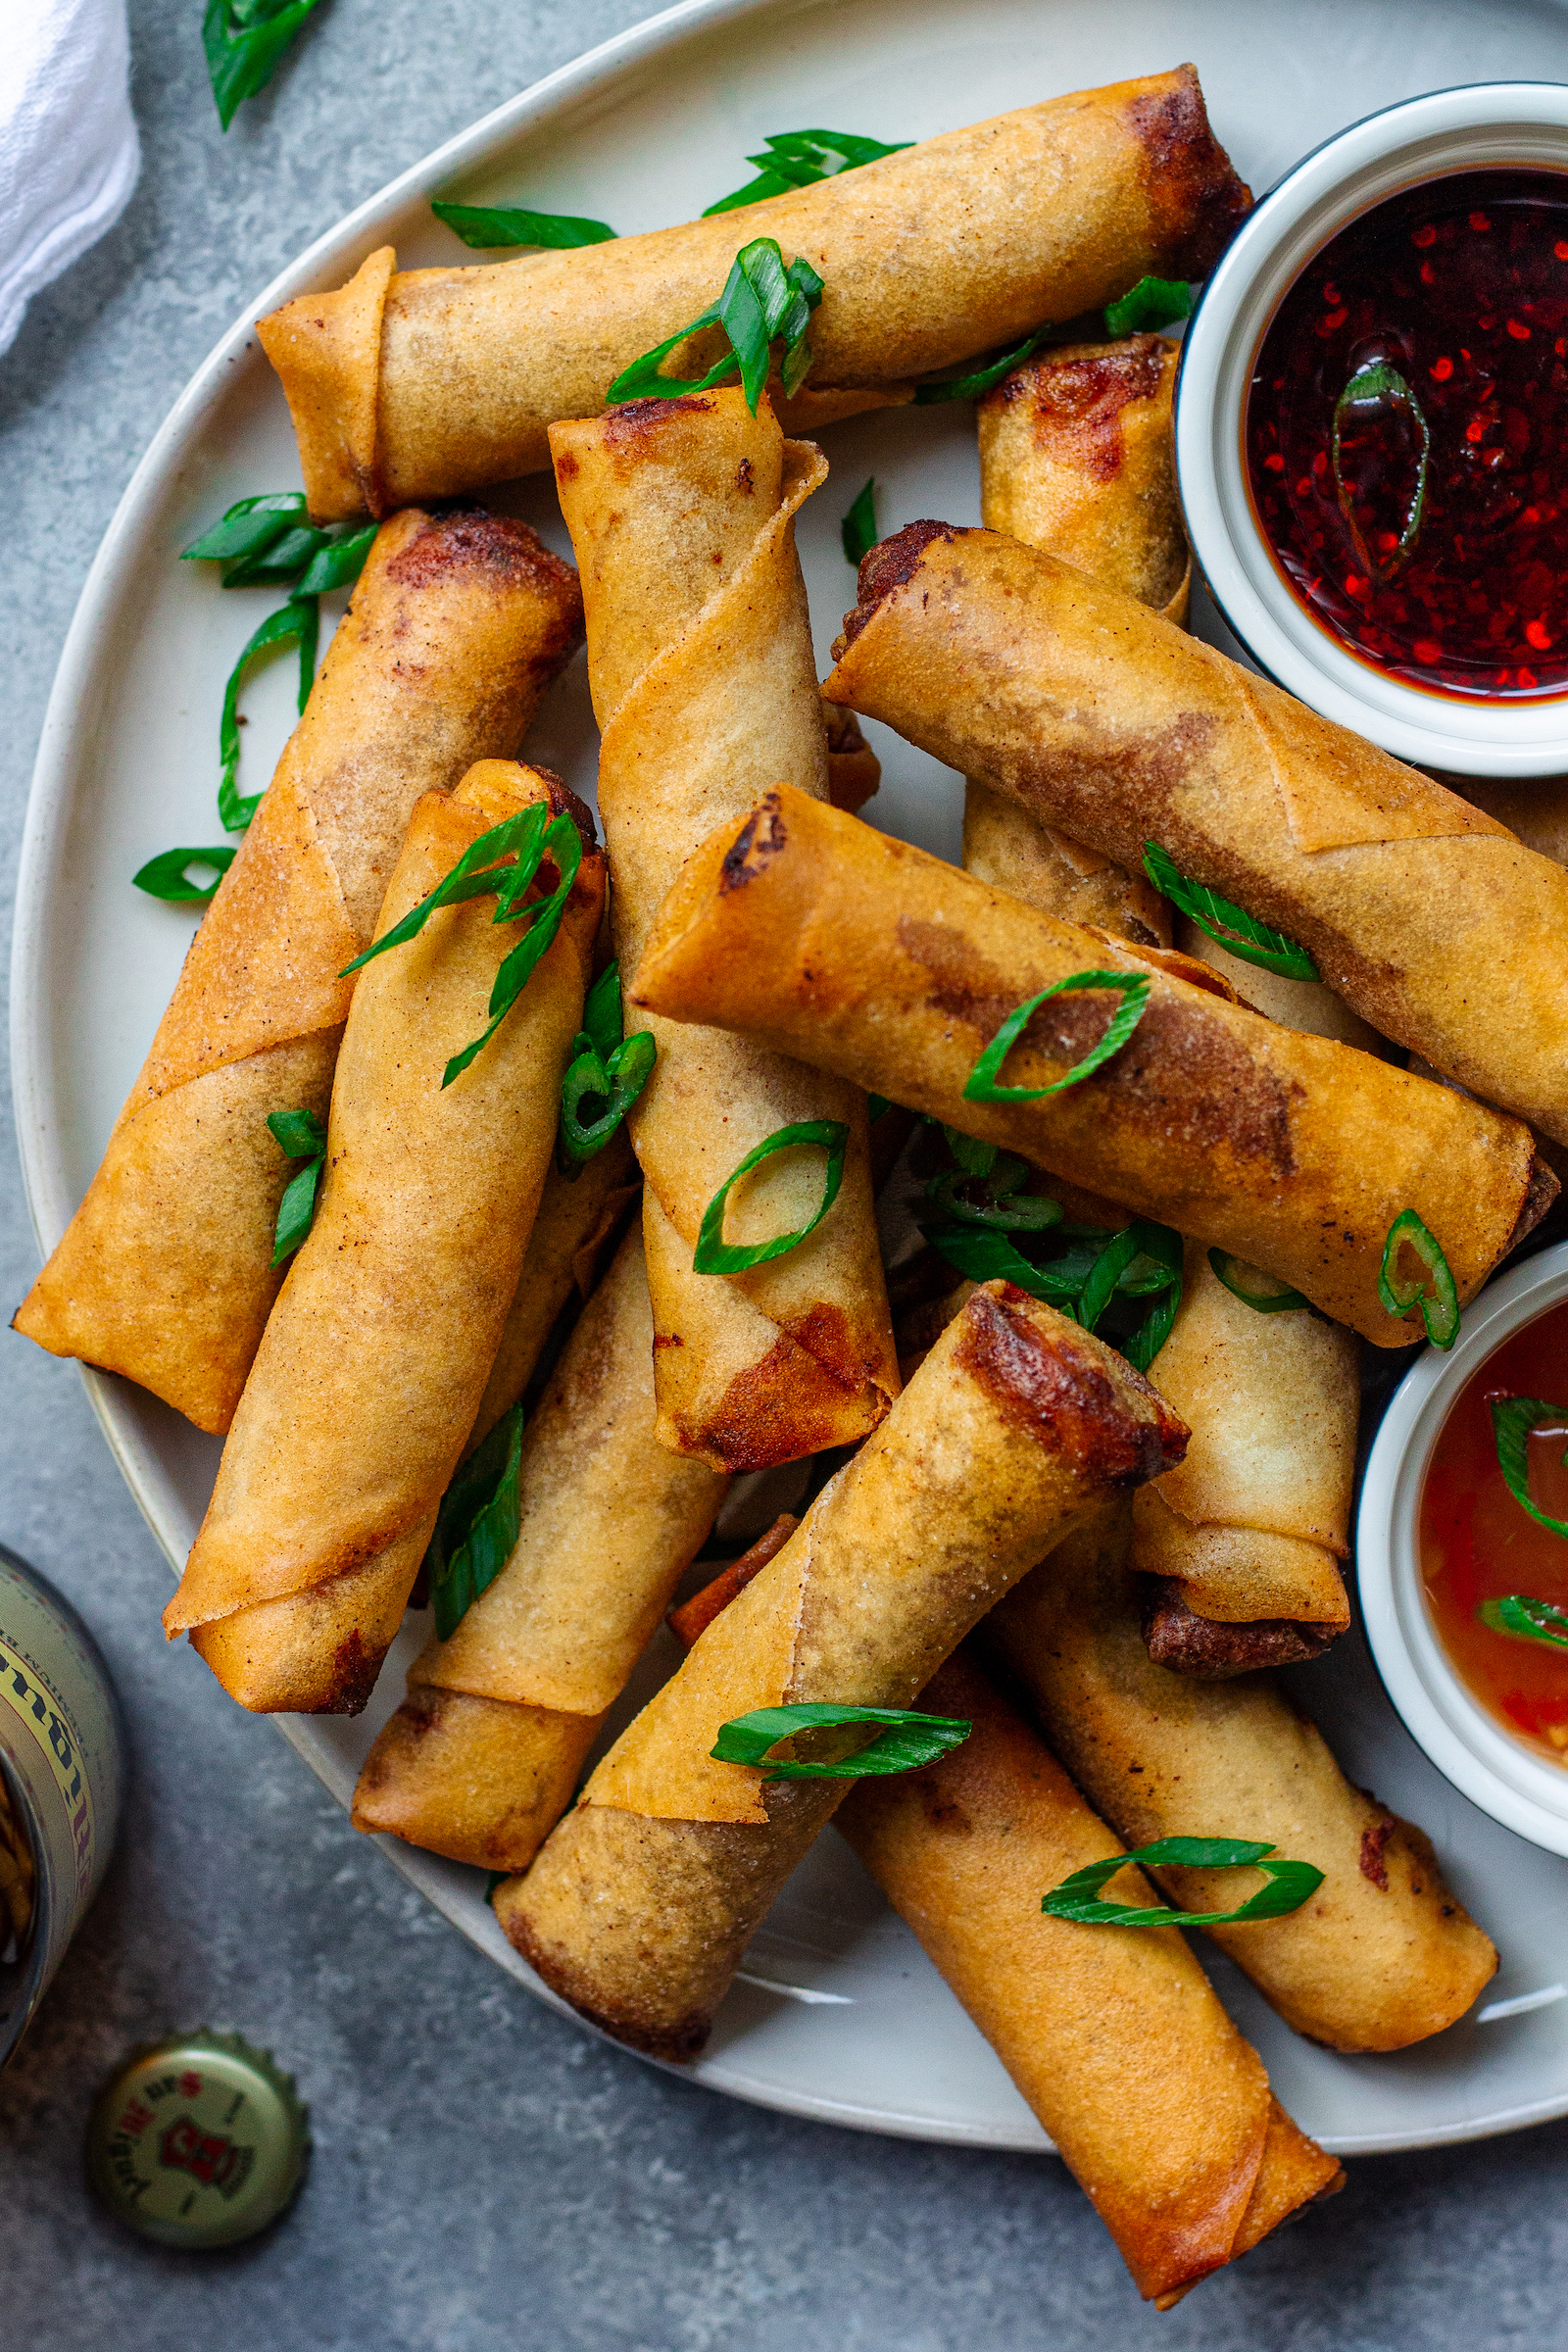
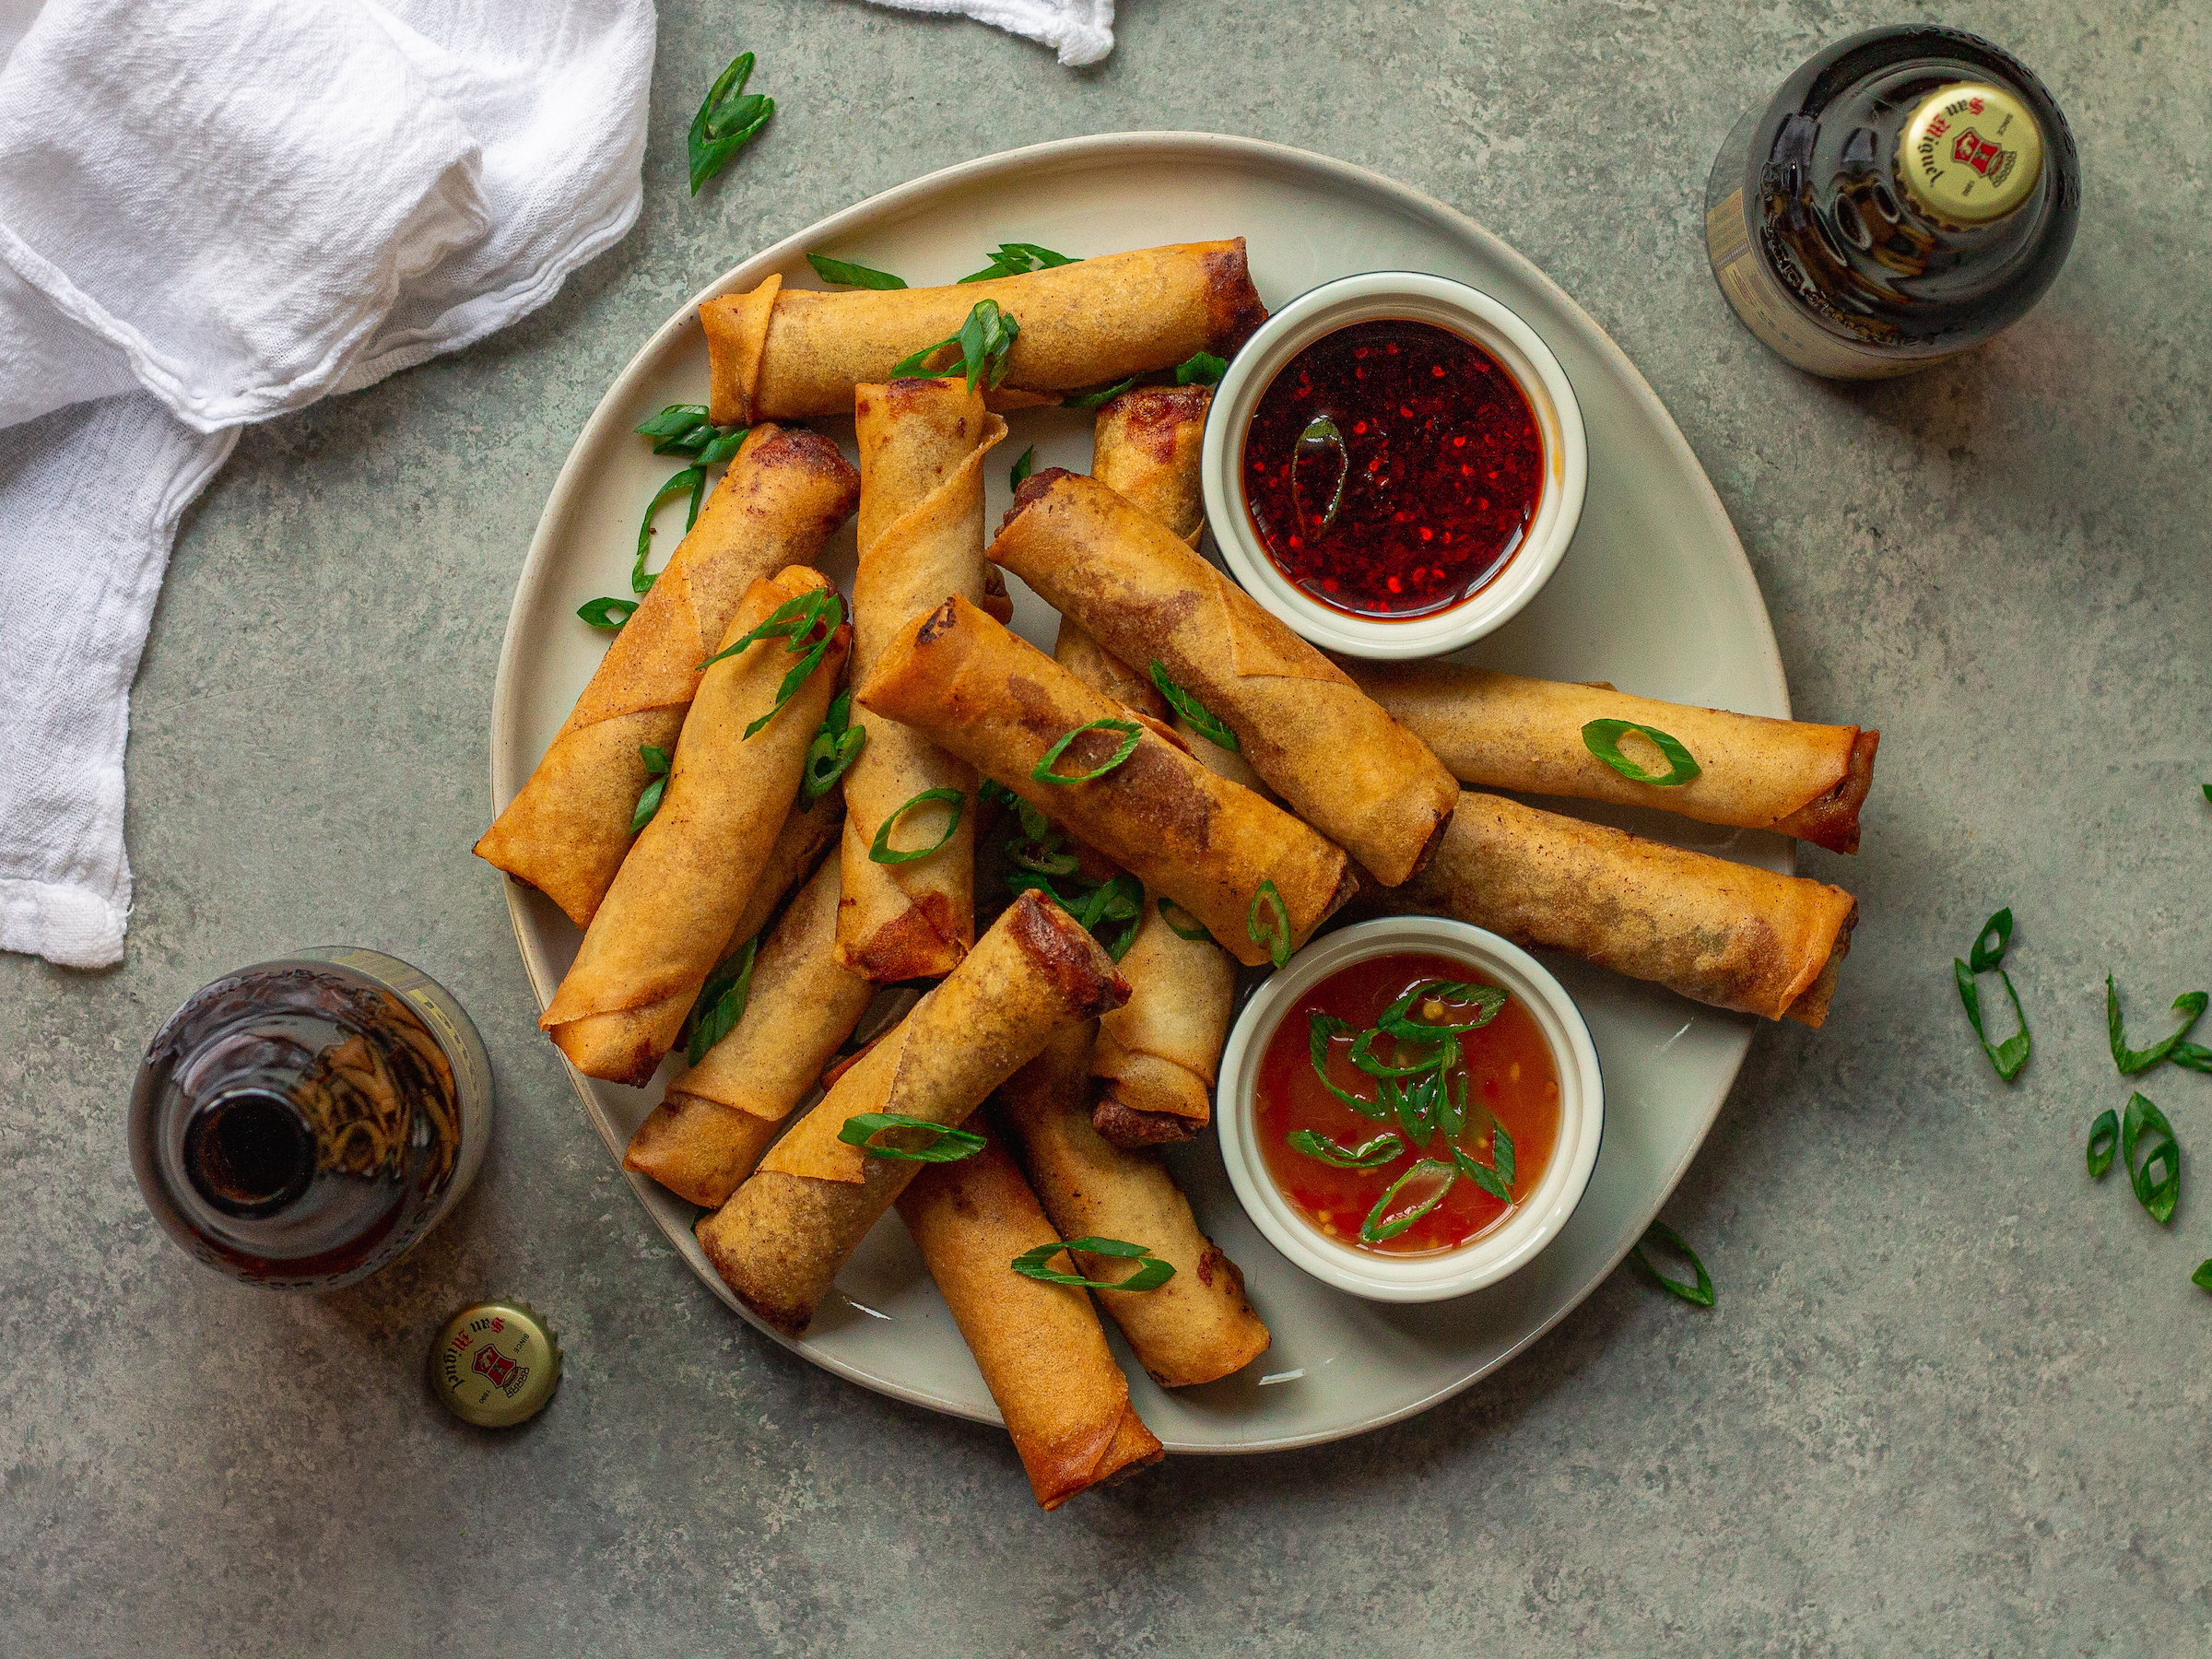
This vegan Lumpiang Shanghai is much like its original counterpart – spring roll wrappers are filled with seasoned vegan meat, carrots, onions, and garlic then rolled into cigar-shaped egg rolls. They’re then fried until golden and perfectly crisp. Serve with sweet & sour sauce and banana ketchup for an appetizer that everyone is sure to love!
vegan lumpia
Earlier this year, TasteAtlas ranked Lumpia (Lumping Shanghai), as the world’s second best street food — and for good reason! These cigar-shaped spring rolls are the perfect combination of crispy, savory, and salty goodness! Growing up, lumpia was served at every occasion and they were always the first to go. I remember watching my mom roll what seemed liked hundreds of lumpia for every celebration and gathering, and to be able to continue that tradition means so much to me! This year, we’ll be rolling them together for Thanksgiving and I can’t wait to make new traditions and memories! If you’re thinking about making something absolutely delicious (and slightly addicting) this holiday season, this is your sign to make this vegan lumpia! But this is also your warning, because once you make them, you will be asked to make them all the time!
Grab a drink and let’s make the best vegan lumpia!
what is lumpiang shanghai
Lumpiang Shanghai, also known as Filipino spring rolls lumpia, is a Filipino deep-fried appetizer consisting of a mixture of ground meat wrapped in a thin egg crêpe. Of the different variants of Filipino lumpia, Lumping Shanghai is probably the most popular, and is regarded as the most basic type of lumpia in Filipino cuisine. It’s typically smaller and thinner than other lumpia variants.
Like many Filipino dishes, lumpia has Chinese origins – it was introduced to the Philippines by Chinese traders, then altered with ingredients to suit the tastes of Filipinos. Despite its name, Lumpiang Shanghai is not common in Shanghai at all. Rather, the name is simply suggestive of its Southern Chinese origins. The name is derived from Hokkien, a language that originated in southeastern China. “Lun” means wet, moist, or soft, and “pia” means cake or pastry.
Common variations of lumpiang Shanghai include ground meat and vegetables such as carrots, onions, and cabbage, among others.
what goes in vegan lumpiang shanghai
This vegan lumpiang Shanghai is similar to its original counterpart. Here’s what you need:
- Vegan ground meat: for this recipe, I personally love Impossible because I find it takes on the flavors and seasonings best, but feel free to use your favorite brand or whatever you find most accessible. You can even use rehydrated TVP! Please keep in mind that if using TVP, cooking methods will change.
- Veggies: I like to keep it simple with white onion, carrots, chives, and garlic.
- Seasonings: low-sodium soy sauce, vegan fish sauce (or sub an extra tablespoon soy sauce), and hoisin sauce.
- Vegan egg replacer: prepared according to directions for “one egg”. I love Bob’s Red Mill brand, but making a flax or chia egg will work, too!
- Cornstarch: mixed with water to create a slurry for sealing the lumpia!
- Lumpia wrappers: you can find lumpia wrappers (also known as spring roll lumpia wrappers or spring roll pastry wrappers) at most specialty asian markets in the freezer section – just make sure to check that they don’t contain eggs. If you’re unable to access vegan lumpia wrappers, you can substitute for egg roll wraps. I find the brand Nasoya is most accessible and vegan-friendly.
- Vegetable oil: for frying
- For serving: sweet and sour sauce, and banana ketchup
how to make it vegan lumpiang Shanghai
If you’ve never rolled lumpia before, don’t be deterred! All it takes is a little practice, plus a few tips and tricks! Here’s how to make it:
1. Mix the filling
Place the vegan ground, onion, carrot, chives, garlic, soy sauce, fish sauce, hoisin sauce, and egg into a large bowl. Using your hands, mix thoroughly to combine until all the ingredients are thoroughly distributed. Transfer the filling to a piping bag with no tip or large zip-top bag with the corner snipped off. In a small bowl, whisk the cornstarch with the water.
2. roll it
To roll the lumpia, line a rimmed baking sheet with parchment paper, then lay a wrapper on a clean, dry surface in the shape of a diamond. Pipe 1 ½ tablespoons of the filling toward the bottom of the wrapper, leaving 1 to 2 inches of space from the bottom point. Gently roll the bottom point tightly upward over the filling, then fold in the sides to create an envelope shape. Roll the wrapper toward the top point. To secure the lumpia, dip a pastry brush or your finger in the cornstarch slurry and then run it across the top of the wrapper; finish rolling up the wrapper to seal it. Place on the prepared baking sheet. Repeat until all the lumpia are rolled.
3. fry it & enjoy!
To fry the lumpia, heat the vegetable oil in a deep sauté pan over medium heat. Once the oil is hot, working in batches, carefully place the lumpia in the oil, seam side down. Fry for 6 to 8 minutes, flipping halfway through, until the lumpia are golden brown and crispy. Transfer to a paper towel–lined plate and repeat until all the lumpia are fried. Serve with sweet chili sauce and banana ketchup, and enjoy!
note: you can air-fry lumpia and directions to do so are in the recipe notes.
additional tips
- Make sure the oil is hot enough, but not too hot — between 350°F to 360°F. This is CRUCIAL for frying the lumpia. If the oil isn’t hot enough, the lumpia will get soggy and fall apart. Additionally, if the oil is too hot, the wrapper will cook, but the filling will not!
- To make the lumpia wrapping process as seamless as possible, set up a station. Take the wrappers out of the package and separate them by gently pulling them apart. Stack them on a plate and cover them with a damp paper towel to ensure they don’t dry out.
- Try to roll the lumpia as tightly (but as gently) as possible to ensure there are no air bubbles. This will result in a crispier spring roll!

to freeze lumpia
When making lumpiang shanghai, I always double the batch and freeze some! That way, all you have to do is pop ’em in the fryer when you’re craving them. You can fry them directly from frozen! Here’s how:
To freeze the lumpia: line a freezer-safe tray with parchment paper. Place the uncooked lumpia on the tray in neat rows, making sure they don’t touch. Tightly wrap the tray with plastic wrap to keep air out, then place the tray in the freezer. Once the lumpia are fully frozen, transfer them to a large zip-top bag, removing as much air as possible. They will keep for up to 3 months.
To fry from frozen: heat the oil in a deep sauté pan over medium-low heat. Once the oil is hot, add the frozen lumpia and cook for 5 minutes, flipping them to fry both sides evenly. Increase the heat to high and continue to fry until golden brown and crispy, another 2 to 3 minutes per side.

more filipino-inspired recipes to try:
 kain tayo!
That means “let’s eat” in Tagalog! And I hope you do make this vegan lumpiang Shanghai, share it with your loved ones and devour it! If you make it and enjoy it, I wanna know! Snap a photo, take a video, or make a story and post it to Instagram or TikTok, and tag me at @eat_figs_not_pigs and #EatFigsNotPigs. I love seeing your recreations of my recipes!
Til next time, friends!
XO!

- • 16 ounces vegan ground meat
- • 1 cup grated or minced white onion
- • 1 cup grated or minced carrot
- • ¼ cup minced chives
- • 12 coves fresh minced garlic
- • 2 tablespoons low-sodium soy sauce
- • 1 tablespoon vegan fish sauce
- • 1 tablespoon hoisin sauce
- • 1 vegan egg replacer, prepared according to package directions
- • 3 tablespoons cornstarch
- • 3 tablespoons water
- • 20 vegan-friendly square lumpia wrappers
- • 2 cups vegetable oil, for frying
- • Sweet and sour sauce, for serving
- • Banana ketchup, for serving
- Place the vegan ground, onion, carrot, chives, garlic, soy sauce, fish sauce, hoisin sauce, and egg into a large bowl. Using your hands, mix thoroughly to combine until all the ingredients are thoroughly distributed. Transfer the filling to a piping bag with no tip or large zip-top bag with the corner snipped off. In a small bowl, whisk the cornstarch with the water.
- To roll the lumpia, line a rimmed baking sheet with parchment paper, then lay a wrapper on a clean, dry surface in the shape of a diamond. Pipe 1 ½ tablespoons of the filling toward the bottom of the wrapper, leaving 1 to 2 inches of space from the bottom point. Gently roll the bottom point tightly upward over the filling, then fold in the sides to create an envelope shape. Roll the wrapper toward the top point.
- To secure the lumpia, dip a pastry brush or your finger in the cornstarch slurry and then run it across the top of the wrapper; finish rolling up the wrapper to seal it. Place on the prepared baking sheet. Repeat until all the lumpia are rolled.
- To fry the lumpia, heat the vegetable oil in a deep sauté pan over medium heat. Once the oil is hot, working in batches, carefully place the lumpia in the oil, seam side down. Fry for 6 to 8 minutes, flipping halfway through, until the lumpia are golden brown and crispy. Transfer to a paper towel–lined plate and repeat until all the lumpia are fried.
- Serve with sweet chili sauce and spicy soy sauce and enjoy!